
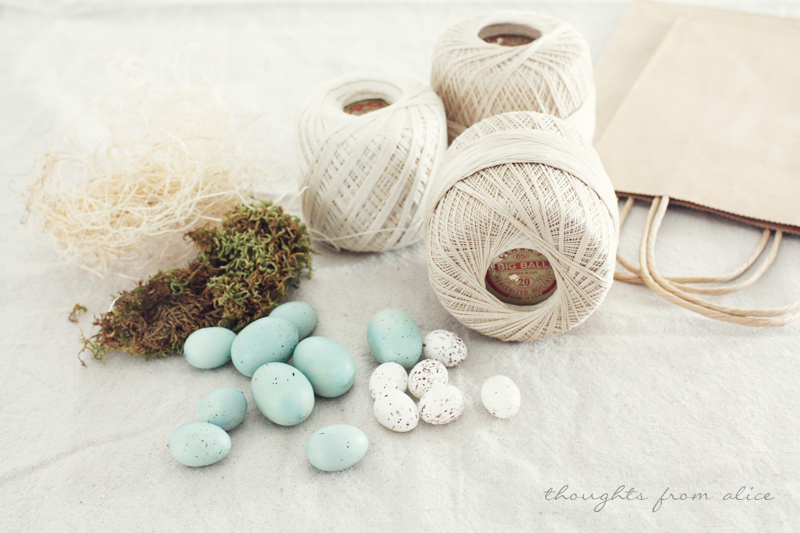
The supplies include the following (supply links at the bottom of this post):
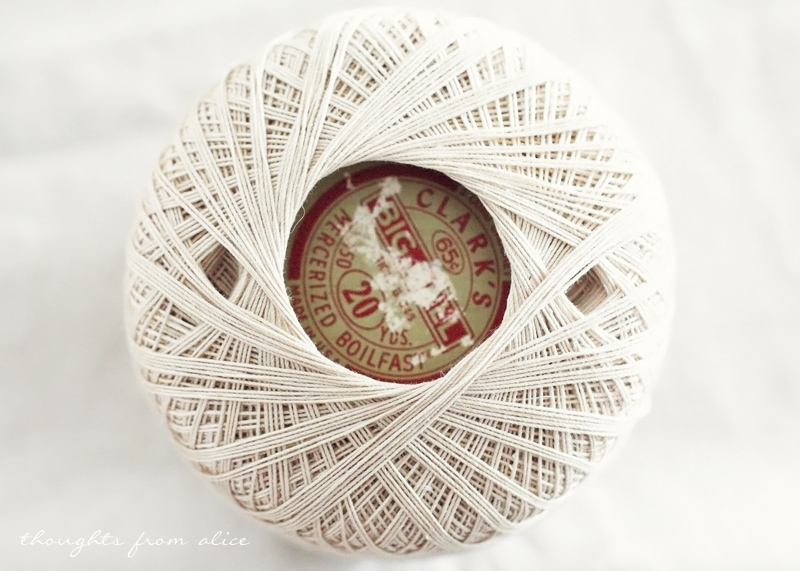
- vintage thread balls (check local thrift stores or Etsy or eBay)
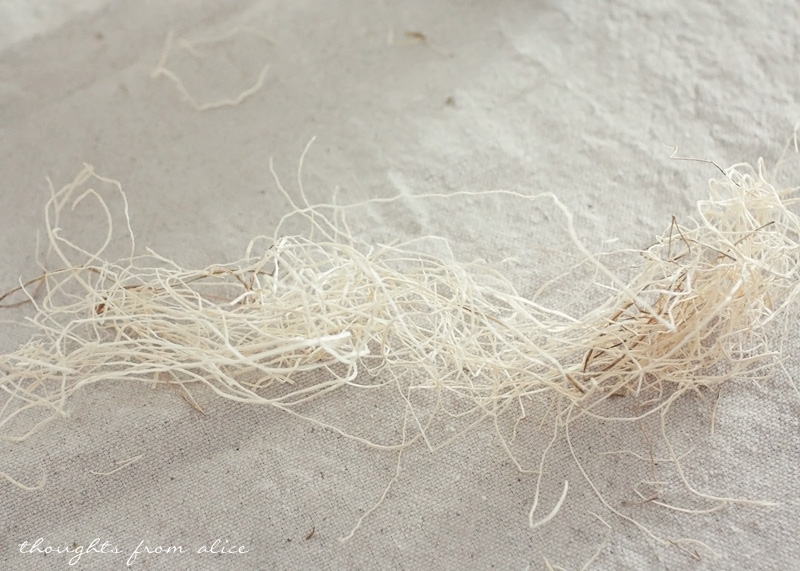
- natural wood excelsior and/or sheet moss
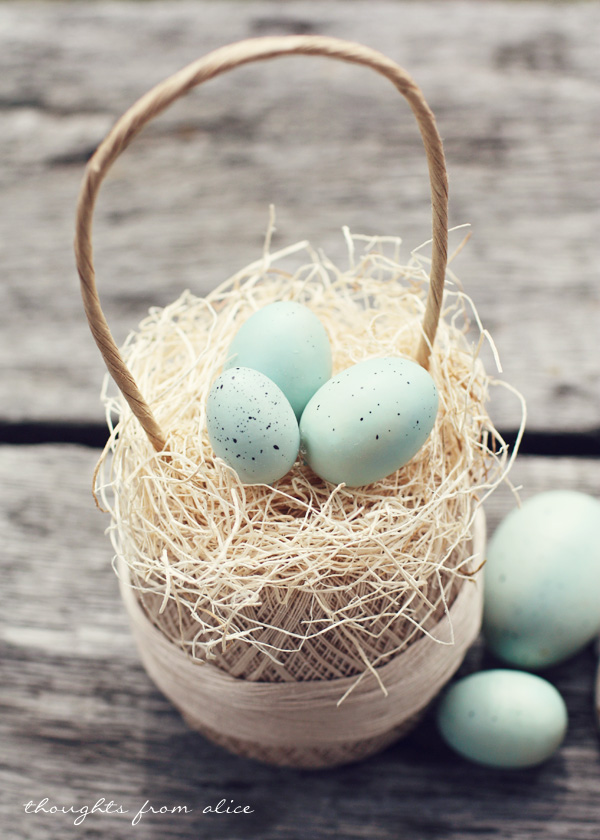
- faux speckled eggs (I purchased mine at HomeGoods a couple of years ago right before Easter – I couldn’t find any exactly the same but found some that were close in my link list)
- gift bag handles or natural twisted paper
This project is so simple, you can probably figure out how to do it just by looking at the pictures, but I will take you step by step anyway 🙂
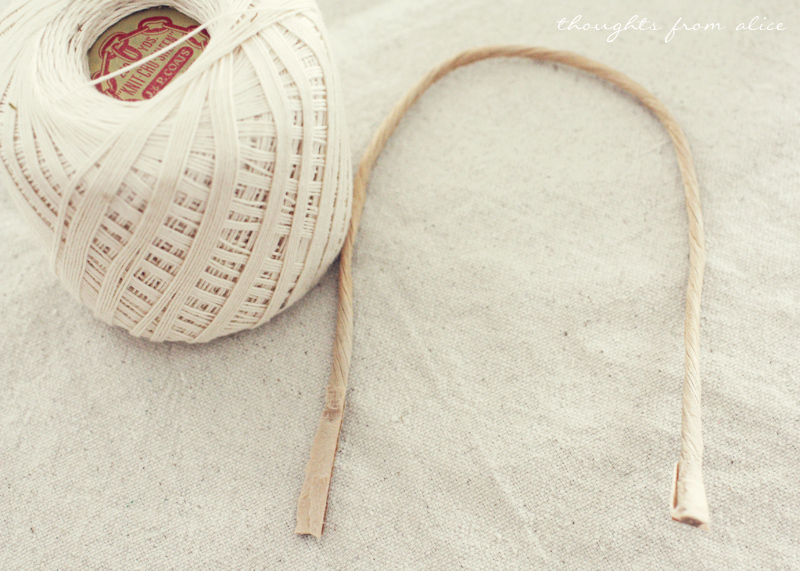
If you are using gift bag handles, you will need to remove them from the bag first. If you are using twisted paper (in cord form) simply cut a strand to the size of handle you prefer.
 Then make two small holes in the thread (just by moving with the end of a pair of scissors or pen), which is where you will glue the handle.
 With your glue gun, attach the handle inside the holes.
Now, that you have your “basket”, the next step is to glue on the excelsior or moss “nest” for the eggs.
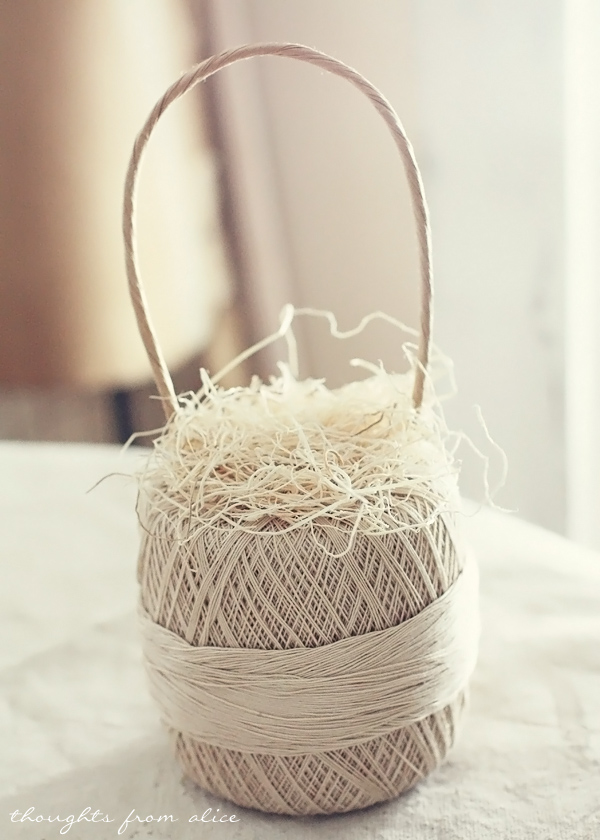
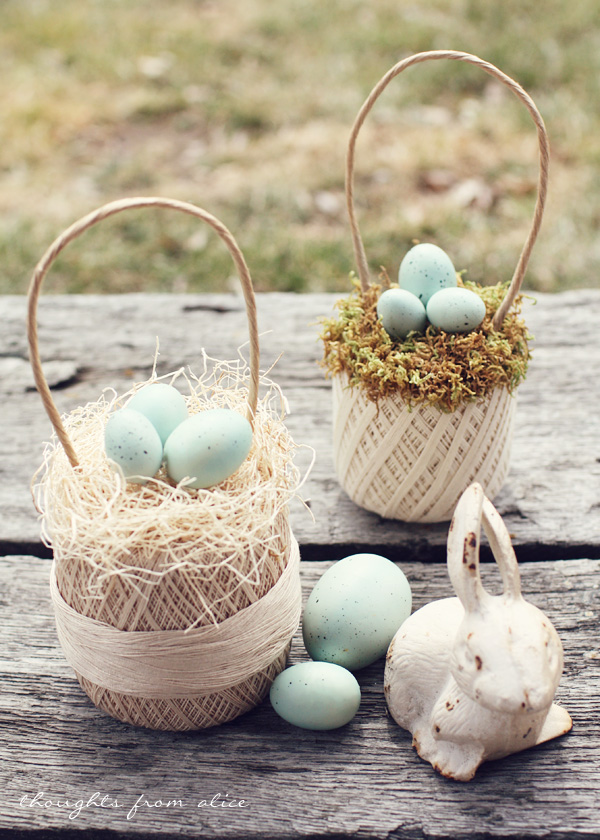
 After I had made these two, I wanted the “nests” to have a more full look around the edge so I took a long strip of the excelsior and lightly glued it around.
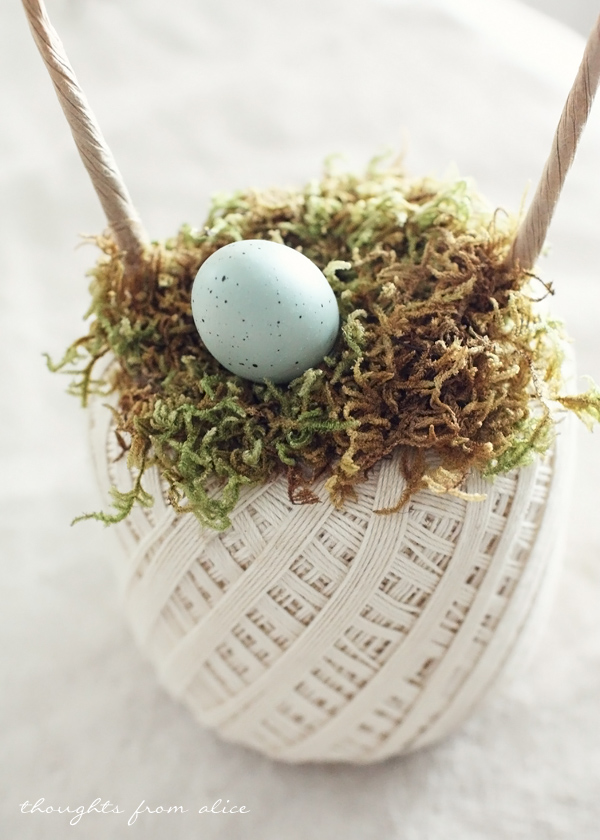
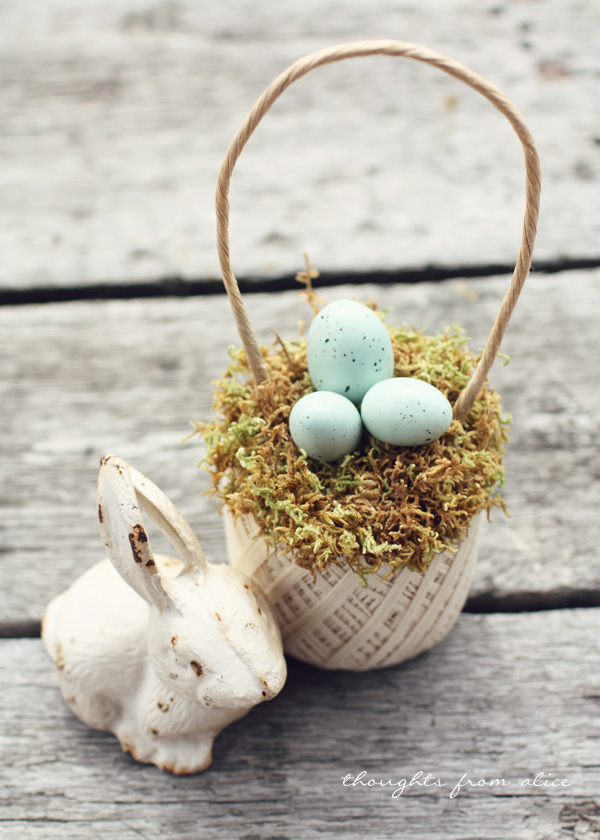
 I took small sections of the moss and added that around the edge of the other one. And that is all!
 I hope you enjoyed this simple tutorial! Later this week, I have a round-up of lots of easy DIY projects for spring, from some talented bloggers for you! Be sure to follow along by email to receive posts directly in your inbox so you never miss a post!
If you are using gift bag handles, you will need to remove them from the bag first. If you are using twisted paper (in cord form) simply cut a strand to the size of handle you prefer.
Now, that you have your “basket”, the next step is to glue on the excelsior or moss “nest” for the eggs.
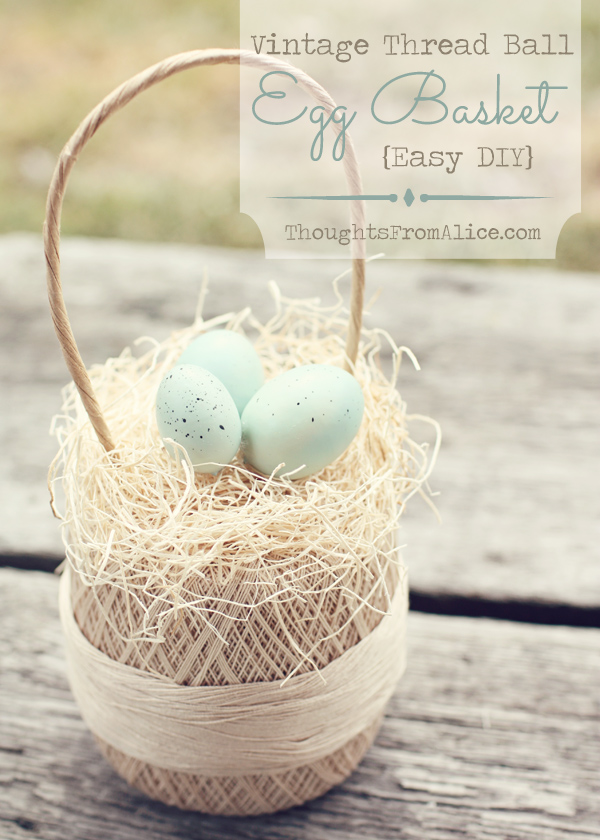
Now to add the eggs! I only added three to each (keeping it an odd number and varying the size is good for balance). I just eyed it as to what looked good to me as far as placement.
Linking up with…
Tweak it Tuesday
Treasure Hunt Thursday
Share Your Cup Thursday
Fridays Unfolded
Be Inspired
Feathered Nest Friday
Twirl and Take a Bow
Tweak it Tuesday
Treasure Hunt Thursday
Share Your Cup Thursday
Fridays Unfolded
Be Inspired
Feathered Nest Friday
Twirl and Take a Bow
Till next time…
~Alice W.
Supply List
-click on the images below to be taken to the purchase site*-
-click on the images below to be taken to the purchase site*-
*From affiliate links – I may receive a small commission for any sales made through these links.
OMG Alice!!! These baskets are so freaking adorable!!! 🙂 I love them!!!
ReplyDeleteaww thank you Melissa!
DeleteOh these pictures are so pretty! You really are so very clever.
ReplyDeleteBest wishes,
Natasha in Oz
Thank you Natasha!
DeleteAww, these are adorable! Makes me excited for Easter. 🙂
ReplyDeleteP.S. I am liking your site's new look!
Oh good! I am glad you like the new look 🙂 Thanks for visiting!
DeleteHow cute to put one at each place setting at Easter with the person's name! Totally stealing this idea…….:)
ReplyDeleteYes, awesome idea!
DeleteAlice you are so talented! I must copy this idea 🙂
ReplyDeletePlease do!
DeleteAlice- That is a really cute, sweet idea. Love the place setting idea!!! xo Diana
ReplyDeleteThanks Diana! Yes, the place setting idea is awesome!
DeleteWhat a lovely idea! So very pretty 🙂
ReplyDeleteWhat a great idea!! I really love it and it's fits in with a more natural theme I want to go this year for Easter. Thanks so much for your generosity in sharing with us, Alice!
ReplyDeleteToo cute! On my to do list! Lol
ReplyDeleteI collect these thread balls to use as basket fillers. This is so cute. Loving and pinning!
ReplyDeletesuper cute and easy. just adorable.
ReplyDeleteThank you, this is on my to do list to 🙂
Stína
These are crazy cute, I love them! ~Ann
ReplyDeleteTarnished Royalty
This is so cute, I saw if featured at Cozy Little House and made one using yarn! http://bit.ly/1qgvgXy
ReplyDeleteOh my goodness…this is the prettiest post…what lovely lovely photos and I adore the basket! xo
ReplyDeleteThanks bunches for linking at Twirl and Take a Bow! ox
Just found you from being a guest over at Pamela's "How I Found My Style!" I am your newest follower – and look very forward to reading your older posts too – love love love your style and your wonderful winning attitude. : – )
ReplyDeleteBTW- this is just too danged cute, what a great craftie – thanks so much for sharing!
ReplyDeleteFeaturing you tomorrow on Twirl and Take a Bow! This project is adorable! Hope to see you again!
ReplyDeleteHappy Easter!
Trina
afewmineradjustments.blog.spot
Alice, stop! These are unbelievable. Pinning like mad and sharing on my FB page today.
ReplyDeleteHugs, Jamie
These are SO cute!!!
ReplyDelete